Previous Image Next 2 of 10 | 
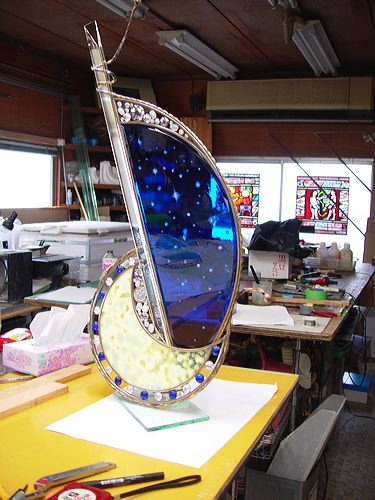
hoshi_no_yume_02.JPG


hoshi_no_yume_01.jpg

hoshi_no_yume_02.jpg


Explanatory notes